There are two main ways of making a ring using PMC. The first way is to create a flat band, and a ring top separately. Fire them separately. Then using metalsmithing techniques hammer the band into a ring shape, then using slip attach the ring band and top and fire them together.
The second way is to create a round ring around a ring mold, allowing for the ring to shrink to size, and designing it in whole before firing it. Then you can fire it a second time to add or correct anything necessary.
There are problems inherent in both methods of creating rings with Precious Metal Clay.
When making a ring in two steps, and two firings, you create a weak spot on the ring. PMC never holds as well when you attach green PMC to already fired PMC. So this method is best for very simple rings.
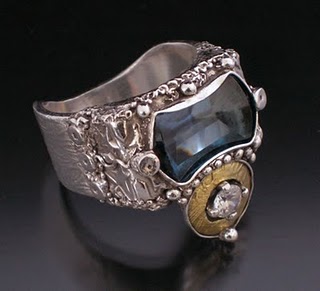
The problem you have when creating on a mold is that it is extremely difficult to finish the ring properly while it is on the mold in it’s pre-fired state. You cannot get underneath the ring to green finish the inside, and the edges are also hard to finish. Another problem is making sure that the ring will hold together after firing. It is important to overlap the band somewhere in the design to hold it together. In the ring pictured above, the overlap is under the top of the ring, hidden in the design. If you don’t create an overlap on your Precious Metal Clay ring, then you may find yourself with an opening in the ring band.
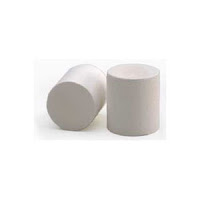
There are several types of ring molds now. I like the ones pictured here. You can buy them as a set or single sizes.
Using this mold, you shape your ring around the mold, then fire it in place. Be sure to follow the instructions for using the mold, to make sure your ring comes off the mold when you are done.
Ring sizing with PMC is tricky too, because the ring shrinks to size, and it is not nearly as easy to correct as on a traditional ring. So before you create that custom masterpiece, make sure that you are making it in the right size.


Leave a Reply