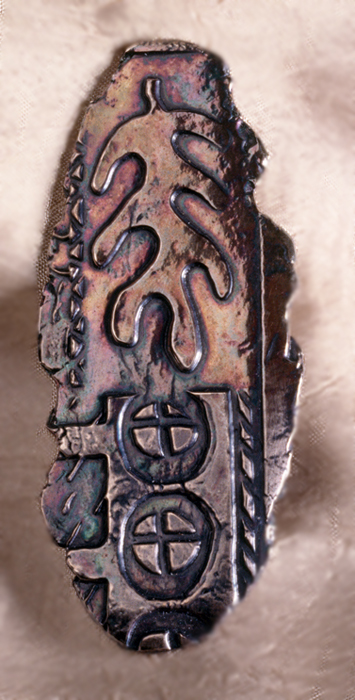
This pin pictured above is made from rolling and cutting Precious Metal Clay. Many excellent designs are created flat, then assembled or shaped later. This lesson is how to create a flat piece from PMC.
The PMC standard way of measuring is using playing cards. So for this lesson you will need some old playing cards, a sheet of graph paper, a page protector, roller, olive oil, cutter, and your PMC.
For your first piece, it is important to learn how to gauge how the PMC will turn out after firing while you are working with it. If your rolled out piece will stand alone, you should never go thinner than 3 cards. I usually start my pieces with 5 cards.
- Place your graph paper inside the page protector. This is your work surface.
- Take a small amount of olive oil, rub some into your hands, some onto the roller, and some on your work surface.
- For a piece that you are rolling to 5 cards thick, take out 10 playing cards and make two stacks of 5 cards each.
- Take out the amount of clay you think you will use and put back the rest.
- Place your clay between your stacks of cards and roll out the clay placing one end of your roller on each stack of cards. This keeps the clay from rolling too thin.
- Once your clay is rolled out, use the graph paper to help measure the size of your piece. Remember it will shrink about 10% if you are using PMC+. That means it will shrink in all directions including thickness.
- Add any design you wish to the clay. This should be done before cutting to size.
- Cut the piece to the size and shape you want. You can use a cutter, Xacto knife, or cookie cutter. Put any extra clay back into the bag.
- To make a simple pendant, cut a hole into the top of the piece. Remember the hole will shrink too. I use coffee stirrers to cut my holes. Leave some room from the top to support the hole.
- Let your PMC dry overnight or dry it on a candle warmer or with a blow dryer.
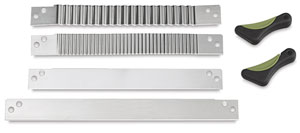
AMACO PolyRoller Polyform Sculpey Super Slicer


Leave a Reply